


Whilst Canvas provides a variety of new opportunities that weren’t available in Study Direct, there are a couple of resource types that don’t have a direct Canvas equivalent. One of these is the Glossary tool, which has been used in some modules to provide a reference bank of terminology for students.
To offer a similar reference bank for students in Canvas you can create a Page from your existing Study Direct Glossary content. Below are the steps to copy the existing entries across.
Creating a Page in Canvas from a Study Direct Glossary.
- Go to Study Direct, find the Glossary and click on the name to open the glossary.

- Make sure the view is set to All.

- Now click on the small Print icon to create a print-friendly version.

- In the print view, right-click and choose Save As. This will save your glossary as a HTML webpage, usually called ‘print’ (although this might vary, depending on the web browser you are using).

- Open the website file you have just saved, and right-click to select ‘View page source’. You will see something like this.
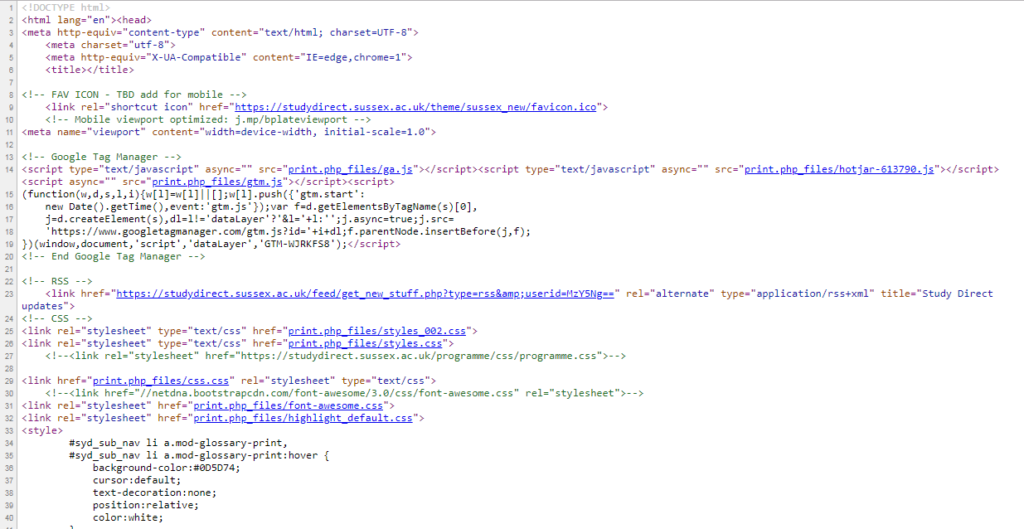
- You don’t need to understand this HTML code – just highlight it all and copy (CTRL-C).
- Then go to Canvas and create a new Page.
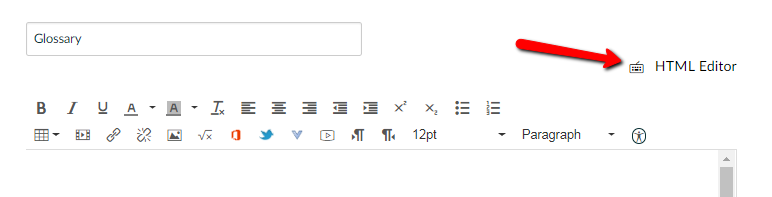
- Open the Page and select Edit.
- Now click on HTML Editor.
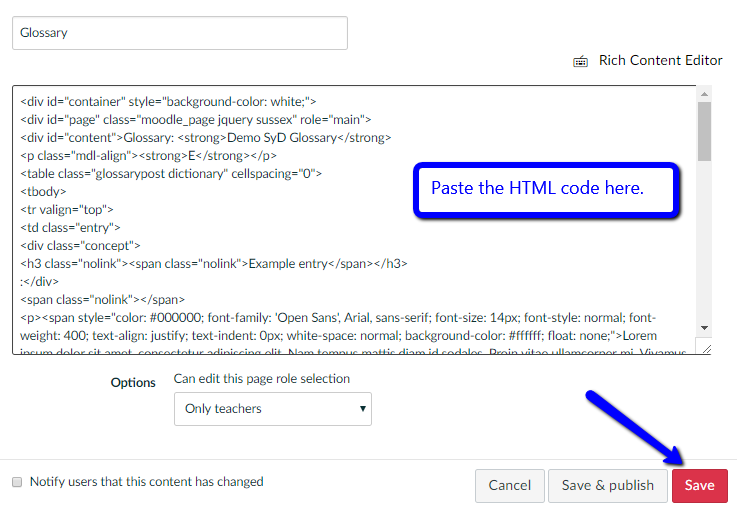
- Paste the HTML code you copied at step 6 into the editor.
- Click on Rich Content Editor to see how your page will look. There will be a few lines at the top of the page you will want to edit out so that you are left with something like this.
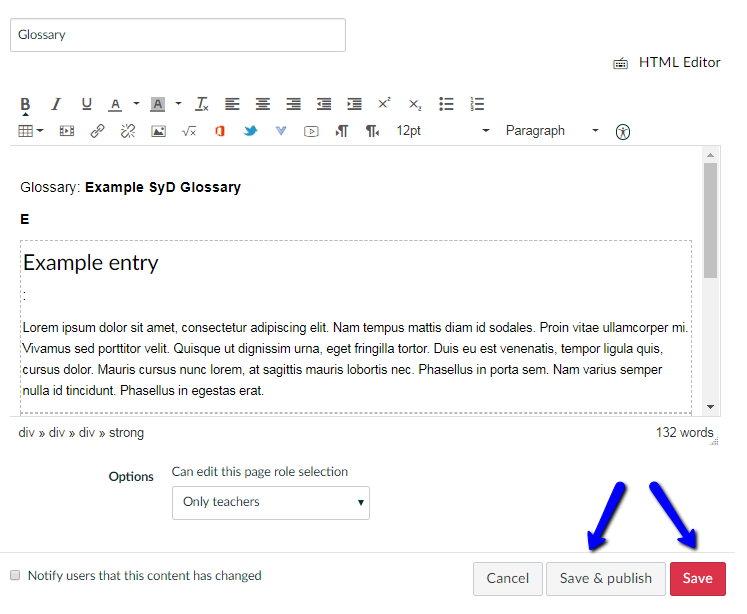
- Don’t forget to Save or Save & publish.
You will now have a Canvas Page with all your Glossary entries in alphabetical order. If there are a lot of entries in your glossary your students can use the standard browser CTRL-F command to search for specific entries.
Allowing students to add to or comment on the Glossary
One of the best features of the Study Direct glossary was the ability to have students contribute words / concepts and definitions. This can also be done in Canvas, because you can allow students to edit a Page. When you are editing a page you will see Options where you can choose which type of users can edit it. Click the dropdown and select ‘Teachers and students’ to allow students to edit the page.

What if someone makes a mistake?
You can view the History of the edits to a page by clicking on the 3 dots next to the Edit button. A full Revision History will appear showing who made edits and when. You can then choose to Restore an earlier version.


Canvas support from Technology Enhanced Learning
If you would like further advice on creating a glossary or to discuss options for other student activities in Canvas please contact tel@sussex.ac.uk
Canvas Training
Places are filling up fast on our Canvas Fundamentals training workshops. We strongly encourage all Sussex academic staff to sign up for a place. Attending the workshop will familiarise you with Canvas and your options for teaching with the new VLE. It also gives you access to your migrated modules from 17/18.
Professional Services staff are also welcome to book a place on this workshop, although we are in contact with several School Administrators to arrange specific sessions for School Office staff.
