

Thankyou for reading this EE blog post this is representative at the time it was written.
 When developing your teaching materials in Canvas, it is important to consider online standards of accessibility to ensure that your content is inclusive of as many individual students as possible. This is important to ensure that equal access and opportunity is provided to all students including consideration for those who may diverse levels of ability for processing information. To support you in this, Canvas has a built in Accessibility checker feature in the Rich Content Editor that will help you to do this.
The accessibility checker will check for 11 different accessibility errors in total:
- Table captions: Tables should include a caption describing the contents of the table.
- Table header scope: Table headers should specify scope and the appropriate structure.
- Table header: Tables should include at least one header.
- Sequential headings: Heading levels should not be skipped (e.g. H2 to H4). However, the tool does not check if the first header starts with H2 or whether the headings are sequential with the rest of the content in the page. Tables do not begin with H1, which is designated for the page title.
- Heading paragraphs: Headings should not contain more than 120 characters.
- Image alt text: Images should include an alt attribute describing the image content.
- Image alt filename: Image filenames should not be used as the alt attribute describing the image content. Currently, files uploaded directly to Canvas create a redirect that does not properly verify image filenames.
- Image alt length: Alt attribute text should not contain more than 120 characters.
- Adjacent links: Adjacent links with the same URL should be a single link. This rule verifies link errors where the link text may include spaces and break the link into multiple links.
- Large text contrast: Text larger than 18pt (or bold 14pt) should display a minimum contrast ratio of 3:1.
- Small text contrast: Text smaller than 18pt (or bold 14pt) should display a minimum contrast ratio of 4.5:1.
The Accessibility checker is a feature within the Rich Content Editor, which is used for editing all pages and descriptive text within your Canvas modules. It can be used for checking accessibility of specific pieces of content that you editing.
Select the button from the Rich Content Editor toolbar to begin a check.

The accessibility checker button is positioned as the last button on the Rich Content Editor toolbar.
After selecting the icon the Accessibility checker menu will appear on the right hand sign of the screen. If any accessibility errors are detected then they will be highlighted in a blue overlay.
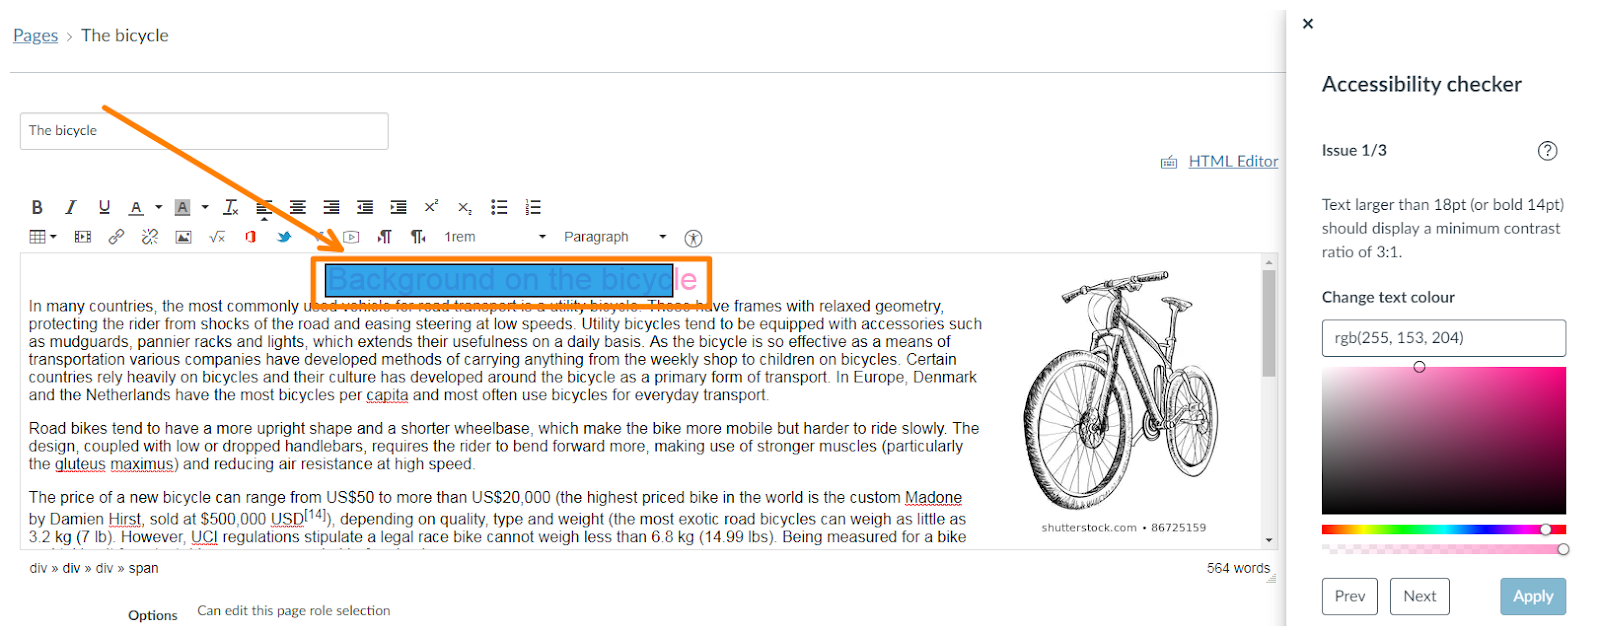
Text highlights indicating errors appear within the Rich Content Editor content preview after a check has run.
Where issues are detected, the Accessibility checker menu will explain the nature of the issue encountered and offer guidance on how to correct each issue.

The accessibility checker has displayed a box allowing the text colour within the blue overlay to be altered.
In the example above the text header colour has a contrast ratio that is too low against the page background colour. This means that students, especially those with visual impairments may find it hard to read the text due to the difference in colour between the text and the background. As a result, the Accessibility checker has detected this and offered the option of changing the text to a more accessible colour.
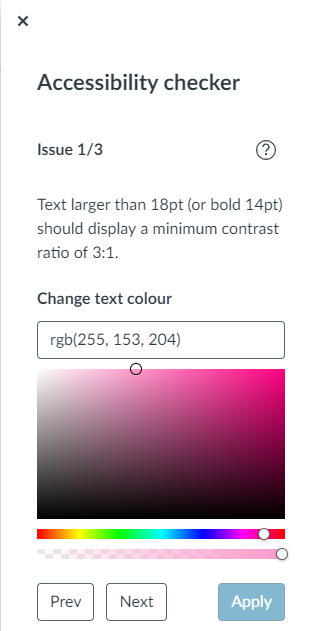
An image of the Accessibility checker showing the option to alter the text colour.
Once it has detected that an appropriate colour has been chosen it will allow you to click apply and resolve the issue.
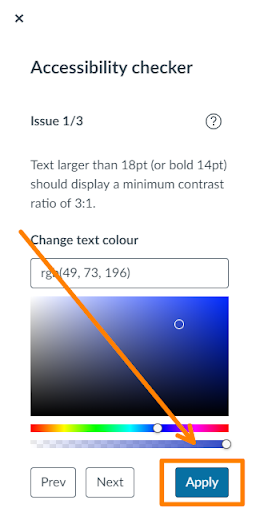
The Accessibility checker changes can be applied by clicking the Apply button that appears in the bottom right hand corner.
If there are any other issues detected the checker will then move onto them, once all detected issues have been corrected the below screen will be displayed. This screen will also display if the Accessibility checker is used and no issues are detected.
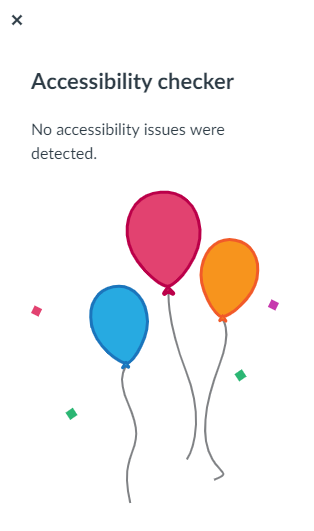
The Accessibility checker menu displays three balloons floating and showing text saying that no accessibility issues were detected.
Please note that whilst the Accessibility checker does check for a range of accessibility issues it is not fully comprehensive and only acts as an supplemental aid in making your site more accessible.
Please see the Accessibility within Canvas and General Accessibility Design Guidelines pages for more information on Accessibility within Canvas.
For more general information on web content accessibility guidelines please see the WCAG overview page.
