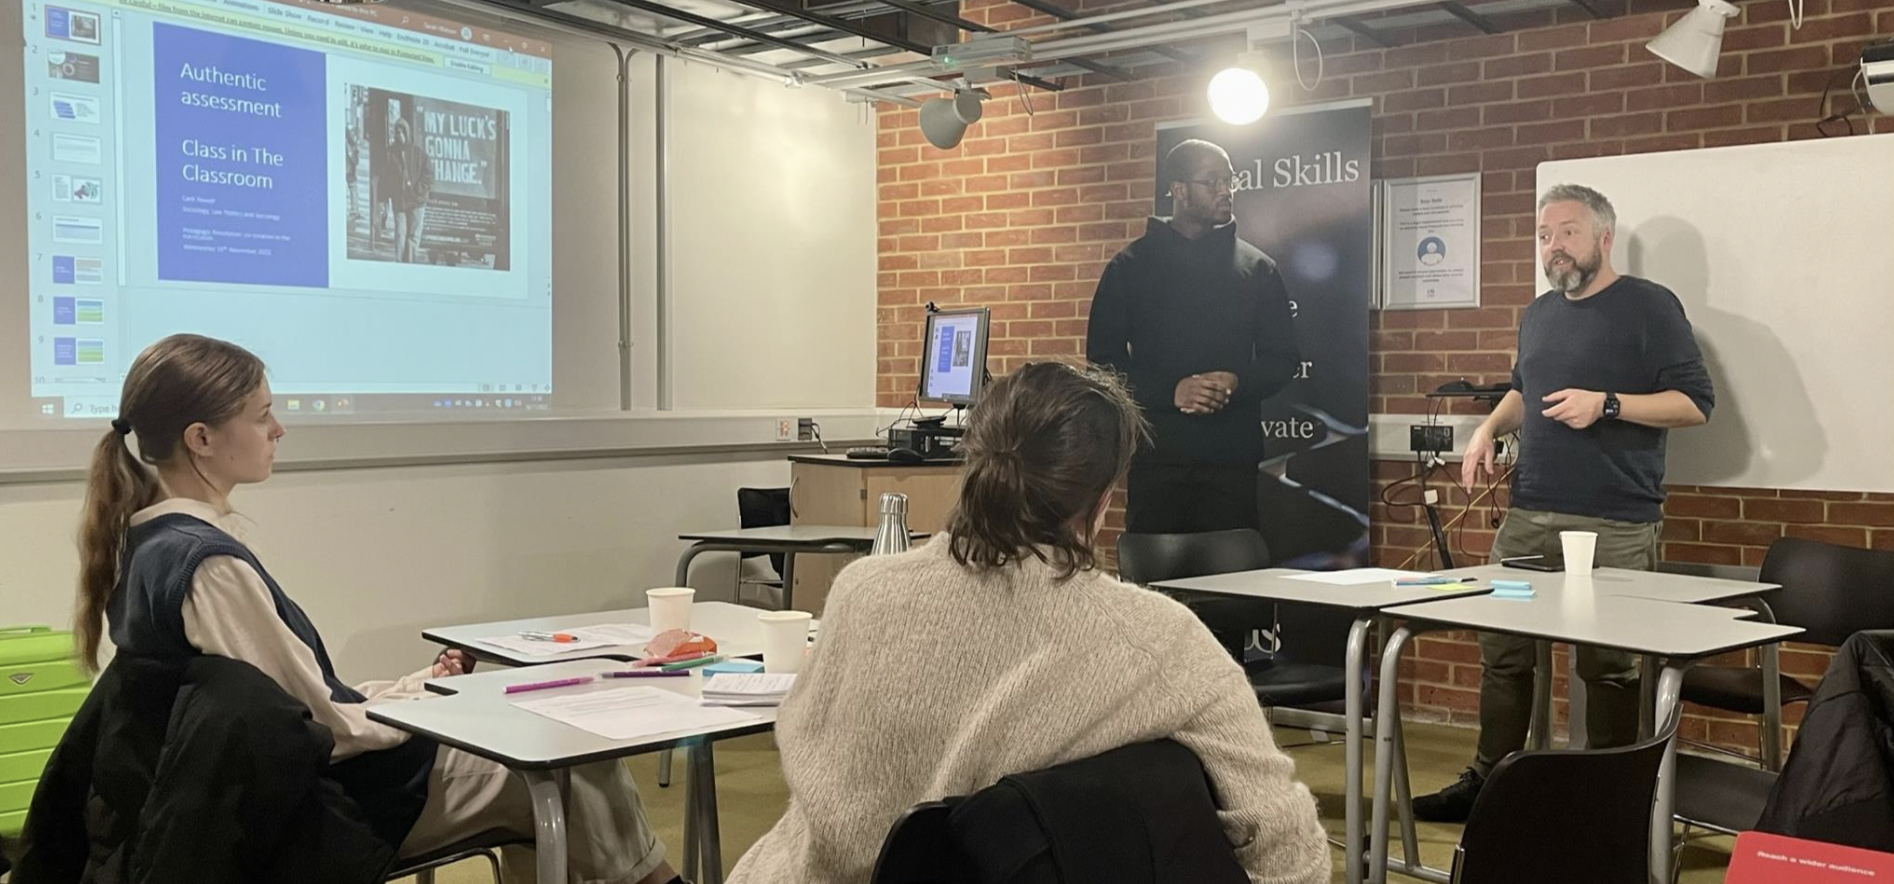
Some topics are of perennial interest and given that technologies are constantly changing there is usually something new to say. Two of the most popular posts on this blog have been on using Creative Commons images (2014) and making presentations accessible (2018). As presentations remain a staple of Higher Education for staff and students alike, it is worth looking at this topic again in 2023.
Accessibility
Making sure all presentations are accessible to all students should now be part of everyday practice. If you are new to creating presentations please have a look at the Educational Enhancement guidance on Digital Accessibility which looks at student needs, some available tools and how you can create and check your teaching materials.
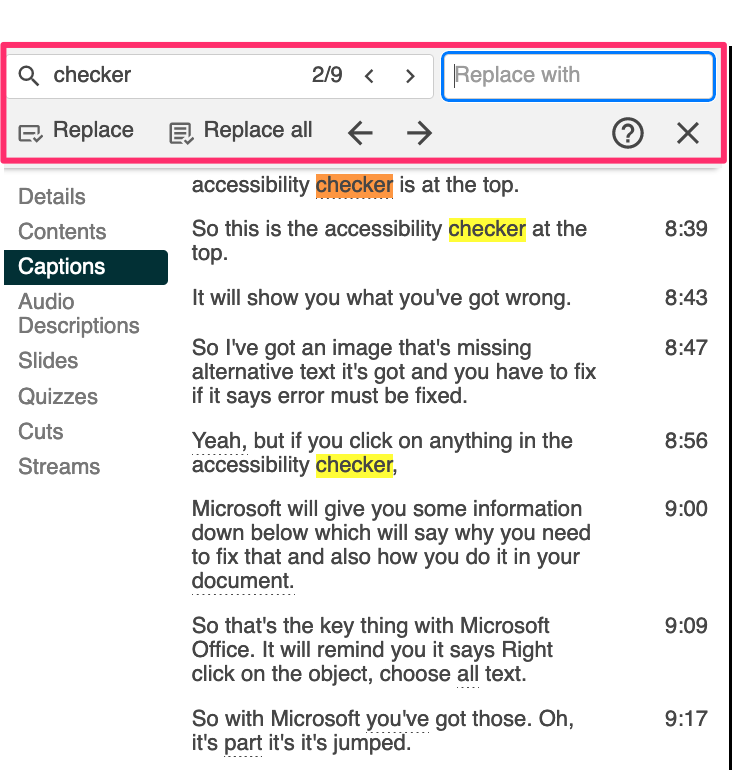
Some of the newer presentation tools, such as Prezi, do not always have the accessibility features that are needed. Although PowerPoint has been around for a long time it has been updated to have some excellent accessibility features. The University of Sussex has an accessible PowerPoint template that you can download and use. If you are not using the template then be sure to choose an accessible theme and the pre-defined layouts which will help you to make your presentation accessible. Microsoft provide additional guidance on how to make your PowerPoint presentations accessible including using the Office accessibility checker.
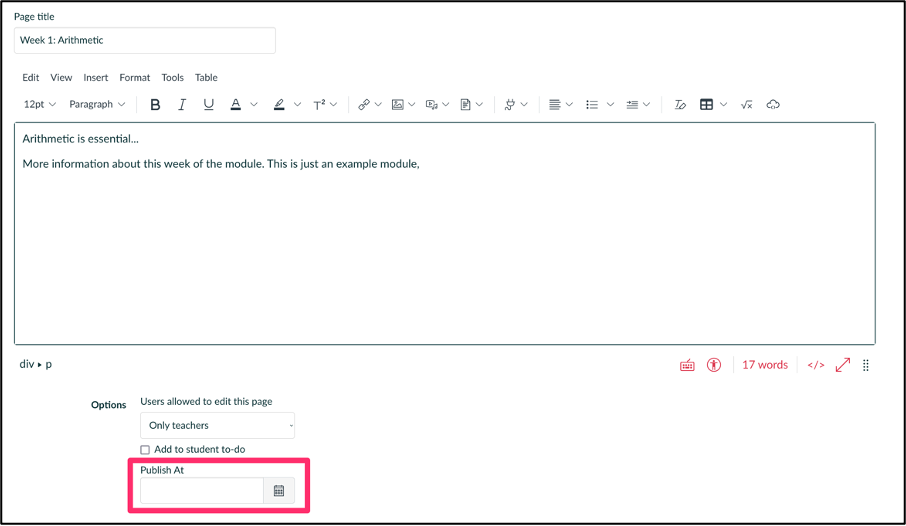
One thing that it is easy to overlook is the reading order of elements in a slide. As you look at your slide it may seem obvious which order things should be read in, but screen readers are likely to read them in the order you added them. You can use the Arrange tool in PowerPoint to set the reading order.
Your presentation is likely to include images and it is vital that these have alternative text (alt-text) that will be read by screen-readers and anyone unable to view the image directly. You can do this easily in PowerPoint but it is important to make the descriptions as useful as possible. Keep the alt-text short (generally up to 125 characters) and avoid unnecessary text such as ‘a photo of…’. The key is to convey in words the meaning the image is intended to give. Any purely decorative images should not have alt-text, but you will want to limit use of non-essential images.
For the step-by-step instructions on how to add or edit alt text, go to Add alternative text to a shape, picture, chart, SmartArt graphic, or other object and Video: Improve image accessibility in PowerPoint.
Choosing images
A well-chosen image can add layers of meaning to a presentation but not all images are available to be used. Too many people use an internet search to find an image and think that if it’s on the internet it’s okay to use – it’s not. Most images you will find using internet image searches are copyrighted.
You may want to use images that have a Creative Commons (CC) licence. These all require attribution and any that are not CC-BY or CC0 (public domain) will have further restrictions on their use. You can use Advanced Search or Advanced Image Search in Google to find images that are licensed for reuse and Creative Commons Search lets you search across a range of CC licensed resources (images and media) provided by various organisations.
Alternatively, there are sites that provide collections of images that are free to use, either using their own licences or CC0 (Creative Commons No Rights Reserved). Usually these images will be mixed with some paid-for images to tempt you, but you can search just for the free images. We often use Unsplash for education or Pixabay and Pexels (now both owned by Canva, the graphic design platform).
Support and further guidance
The Library has a Copyright Guide which will give you more information on copyright in teaching materials.
If you would like to discuss the accessibility of the materials used in your Sussex teaching please contact Educational Enhancement on tel@sussex.ac.uk