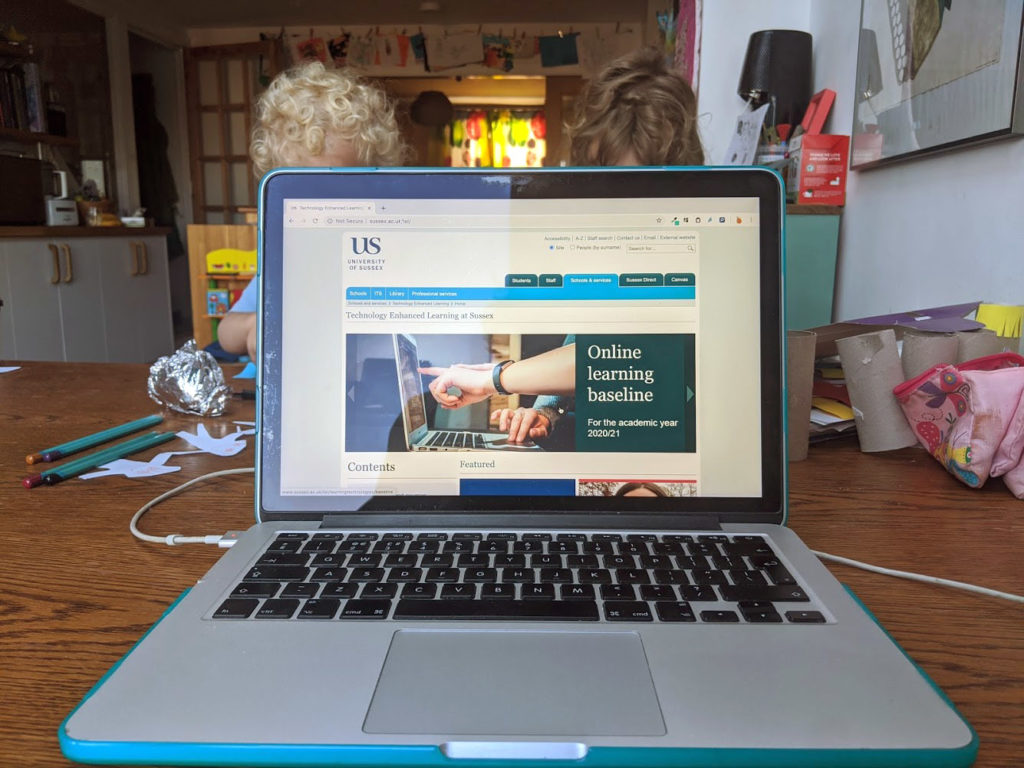
The Covid-19 global pandemic has introduced enormous uncertainty across the HE sector while social distancing measures will undoubtedly place restrictions on the ability of institutions to deliver face-to-face teaching or undertake in-person assessment come the autumn term. As a result, at Sussex we’ve been preparing a blended approach – planning to ensure our curriculum can be fully delivered online in Semester 1 whilst intending to offer as much face-to-face teaching on-campus as can safely be accomodated. Work over the summer is focussed on planning and preparing modules for this new blended mode. Lots has been learned from the recent experience of online teaching and a new initiative to emerge has been the establishment of a University Online Learning Baseline, designed to help staff with the planning of their module to help ensure a high quality experience for our students. In this blog post we introduce the Baseline and highlight the support available for Schools with its implementation.
The Online Learning Baseline
The University of Sussex has introduced a new Online Learning Baseline which establishes minimum expectations for all taught modules facilitated via Canvas.
The Baseline has been developed based on feedback collated from School snapshot reports, focus groups and staff/student survey data and is designed to be flexible, ensuring there continues to be space for creativity in relation to methods of teaching and supporting learning whilst setting out practical steps to deliver a more contextually rich, consistent, connected and accessible online experience for our students and staff.
The baseline addresses seven core areas: Technology and Software; Structure and Organisation; Orientation and Communication; Content and Resources; Collaboration and Engagement; Assessment and Feedback; and Accessibility and Copyright.
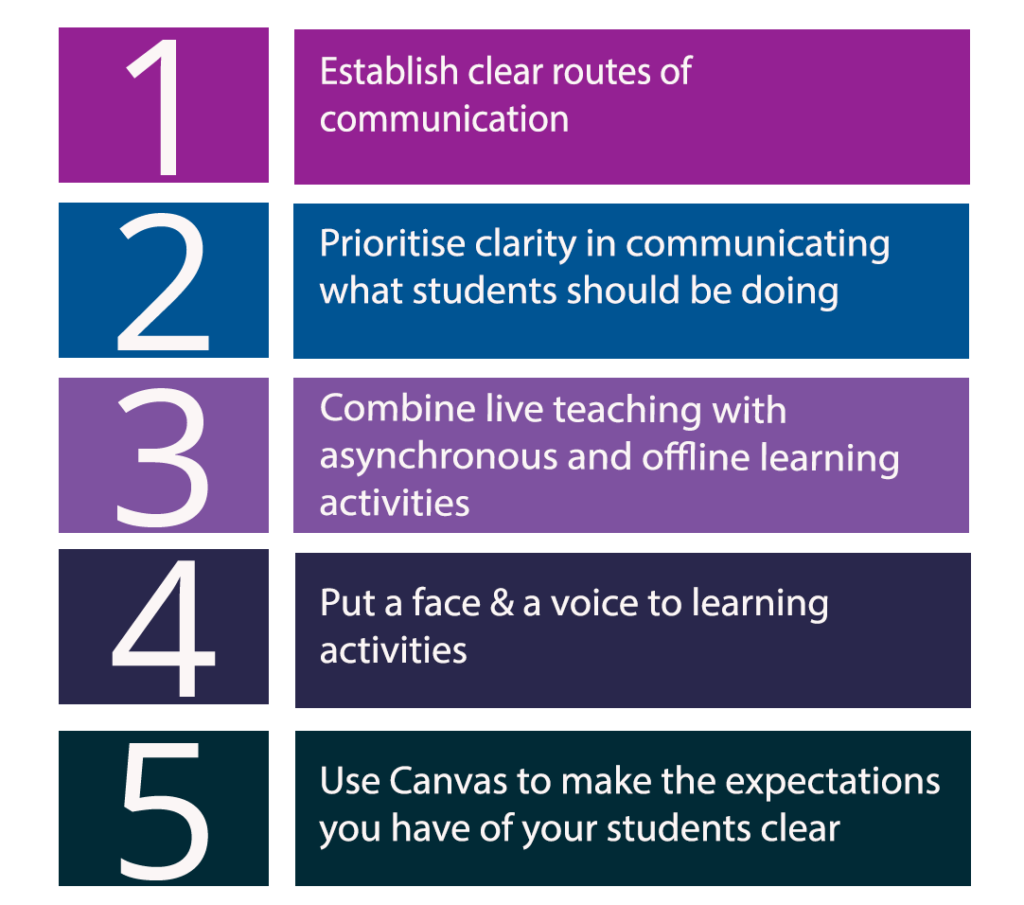
The Online Learning Baseline seeks to ensure consistency between the provision of modules. The baseline establishes that:
- Learning materials and activities are accessible to all students.
- The structure and organisation of the module is clear and uses a School-provided Canvas template to help orientate students.
- The expectations we have of students each week are clear
- Each module uses one of Sussex’s core communication channels (Canvas Announcements, Canvas Discussion, Canvas Chat and Padlet) and tutors use it regularly.
- Content and resources are readily available before face-to-face teaching sessions. It is chunked into manageable sizes and provided with questions for students to think about while engaging with it. Where possible it is made available through the library reading list.
- The learning material is linked to collaborative activities so students get opportunities to discuss and use the knowledge covered in the material.
- Students have opportunities to engage with the tutors and their peers in Zoom and Zoom Breakout rooms to enhance collaboration.
- The assessments include clear instructions and marking criteria and methods for feedback are clearly explained to students.
Support
Meeting the baseline is extremely important so we can deliver the teaching and learning experience that our students have grown to know and enjoy. Professional Service teams are doing their utmost to support faculty adapt their teaching to meet the challenge and be ready, if need be, to move teaching and assessments online.
Almost every School has developed a bespoke Canvas template, which will make the student experience more consistent and familiar and make meeting the baseline much easier for faculty.
Technology Enhanced Learning will be on hand to provide workshops with four new academic developers. They will be happy to deliver tailored workshops too for the specific needs of your School. The library and IT Services staff are available to provide support developing reading lists and solving hardware and software related issues respectively.
The baseline requirements will allow us to provide an excellent and meaningful learning experience for students despite the new challenges the pandemic has created. If you’d like help on how to meet the baseline, using the Canvas templates or with anything else we have raised in this post, please contact tel@sussex.ac.uk.