Students and staff at the University of Sussex can get access to a suite of Microsoft 365 applications for their personal computers and mobile devices with 1TB of free storage. Many of these web-based tools facilitate collaborative activities and, as they are cloud-based (shared online not on your computer) they allow you and your students to work together seamlessly. You can select individual users, groups, or both and set up a dedicated space to keep track of collaborations without needing to use individual emails. This blog will walk through four Microsoft 365 apps you can use for setting up collaborative spaces.
OneDrive
OneDrive allows files and folders to be uploaded and shared, making them accessible from any PC, Mac or phone. You can collaborate on different file formats including: Word document, PowerPoint presentation and Excel spreadsheet. OneDrive is particularly useful if you wish to share larger files such as videos and PowerPoints with embedded media which could not be attached to an email.
OneDrive is great for allowing full or temporary access to a file or folder for a selected person or group of people for collaboration. When the collaboration is completed, you can disable access to the file or folder making it private once again. Permitted users can add comments which will be saved, you can @mention specific people to draw their attention to a comment within the document and they can then write a response. Version history contains details of each time the document is opened, updated and closed whereby a new version will be created. You can also see who has updated the document in the ‘modified’ column and revert back to a previous version if necessary.
You could use OneDrive for peer feedback, group-work and lab work results. For more guidance see: Get started with OneDrive and How to Share OneDrive files and folders.
OneNote
OneNote is an infinite electronic notebook tool that automatically saves and syncs your notes as you work, like a collection of digital documents. OneNote is great for collaborating and brainstorming on shared notes. Teachers can set up and share the notebook with others and either allocate sections of a notebook to each group or set up a Class Notebook to allow private collaborative spaces. This also makes it easy for you to check on the progress of small group work. Users can insert images, audio, video, documents or hyperlinks and use text or digital ink to annotate around them. This functionality can also be used to support ongoing feedback. The resultant notebook becomes a resource that students can refer to for revision, to remain organised and work in a collaborative way efficiently. Students could export their OneNote portfolio as a pdf and submit it to a Canvas assignment.
You could use OneNote for journals, portfolios, group projects, peer feedback, digital collections or group debates. For more guidance see Microsoft’s OneNote: your one-stop resource, OneNote video training or visit the OneNote Teacher Academy.
Sway
Sway is often advertised as a ‘digital storytelling’ tool and is best suited to creating visually appealing presentations, newsletters or lectures. Sway is intended to provide a more interactive experience with less emphasis on the one-way presentation style that PowerPoint offers. Sways can be easily created and allow you to edit collaboratively, making them ideal for group presentations and projects. The Storyline is where you can type, insert media, edit and format your content. Content includes incorporation of various media such as images, audio, videos, and documents. They can be shared, either by link or by embedding them in a Canvas course.
The benefits of Sway are that you can easily present information in an eye-catching way with little prior knowledge of content design by using the pre-designed templates. Basic analytics such as view count and average read length are available. Sway presentations can be watched on mobile and tablet devices without losing any of their functionality or format.
You could use Sway for presentations, interactive reports, newsletters, or for digital storytelling. Microsoft has produced a range of guidance for Sway, including Sway for education: introduction to Sway and Getting started with Sway.
Whiteboard
Microsoft Whiteboard is an infinite, collaborative digital canvas for engaging learning and visualisation. You can use Whiteboard to collaborate with others for brainstorming and planning and developing ideas during workshops. Contributions can be done in real time together or apart, so group members can work in a shared whiteboard space from their own device. Whiteboard allows users to individually or collaboratively draw, type, add images and sticky notes using the ‘Note Grid’ function. Using the ‘Enhance inked shapes’ option within the settings will allow hand-drawn shapes to automatically change to accurate shapes. Therefore, any hand drawn ink-stroke shapes e.g. a circle or triangle will change to the associated shape on your whiteboard. The subsequent whiteboard is automatically saved and can be easily accessed, edited or shared later. A desktop version of the app can be downloaded for Windows devices, a web version for PC and Mac users and an app for iOS devices.
You could use Whiteboard for mind maps, discussion boards, problem-solving or creative groupwork. For more guidance see Getting started with Microsoft Whiteboard.
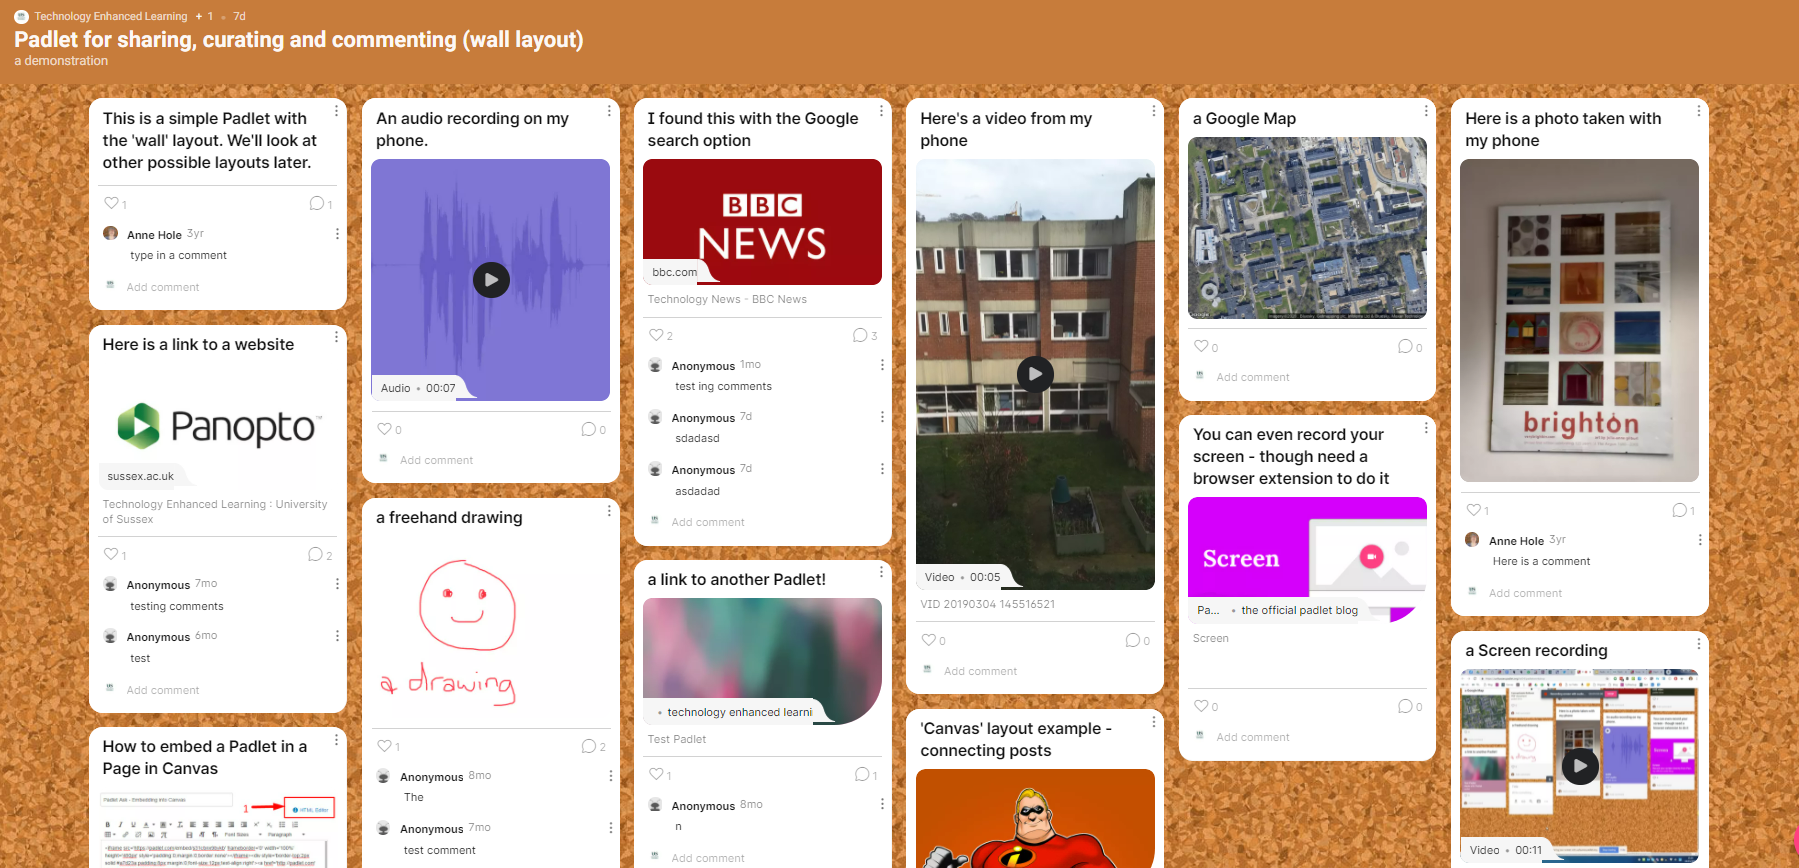
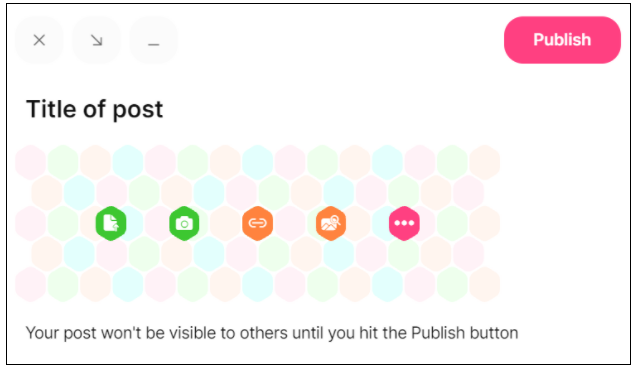
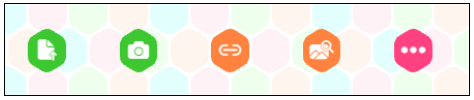
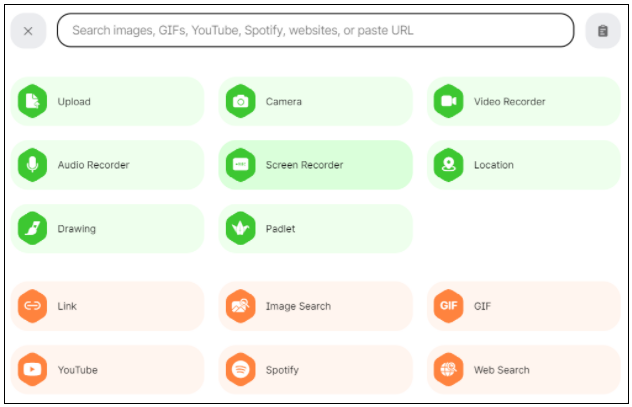
Padlet has similar features to WhiteBoard and also lends itself to collaborative activities, see What’s new in Padlet? for more information.
Further guidance and support from TEL
If you need guidance with using any of the above Microsoft tools for teaching or collaborative activities for your Sussex students please get in touch with Technology Enhanced Learning at tel@sussex.ac.uk.